
By Lily Rhyne
DiG writer Mina and I recently took a trip to the Snellville branch of the Gwinnett County Public Library in search of ways to help craft some DIY Christmas gifts with help from their Learning Labs. We met a friendly media specialist who taught us step by step how the Learning Labs work, as well as how we can utilize their 3D printers to whip up some nifty items!
If you are over 13 and have a library card in Gwinnett County, you have access to so many amazing resources for free! Each branch has a different set of offerings so be sure to check out the Learning Lab website to see what is available near you! There are several ways to make use of their services, such as attending a class like we did (highly recommend Intro to 3D Printing), using their Book-a-Librarian service or reserving a lab to use however you like!
Step 1: Decide What To Print
We were first introduced to several websites with pre-made, free-to-download models like Printables.com, Makerworld.com and Thingiverse.com. In addition to those, we also got to demo Tinkercad and learn how to build printable models from scratch! They then showed us how to pull the design files into the printer’s software – truly a beginner-friendly experience.
Step 2: Set Up the Printer
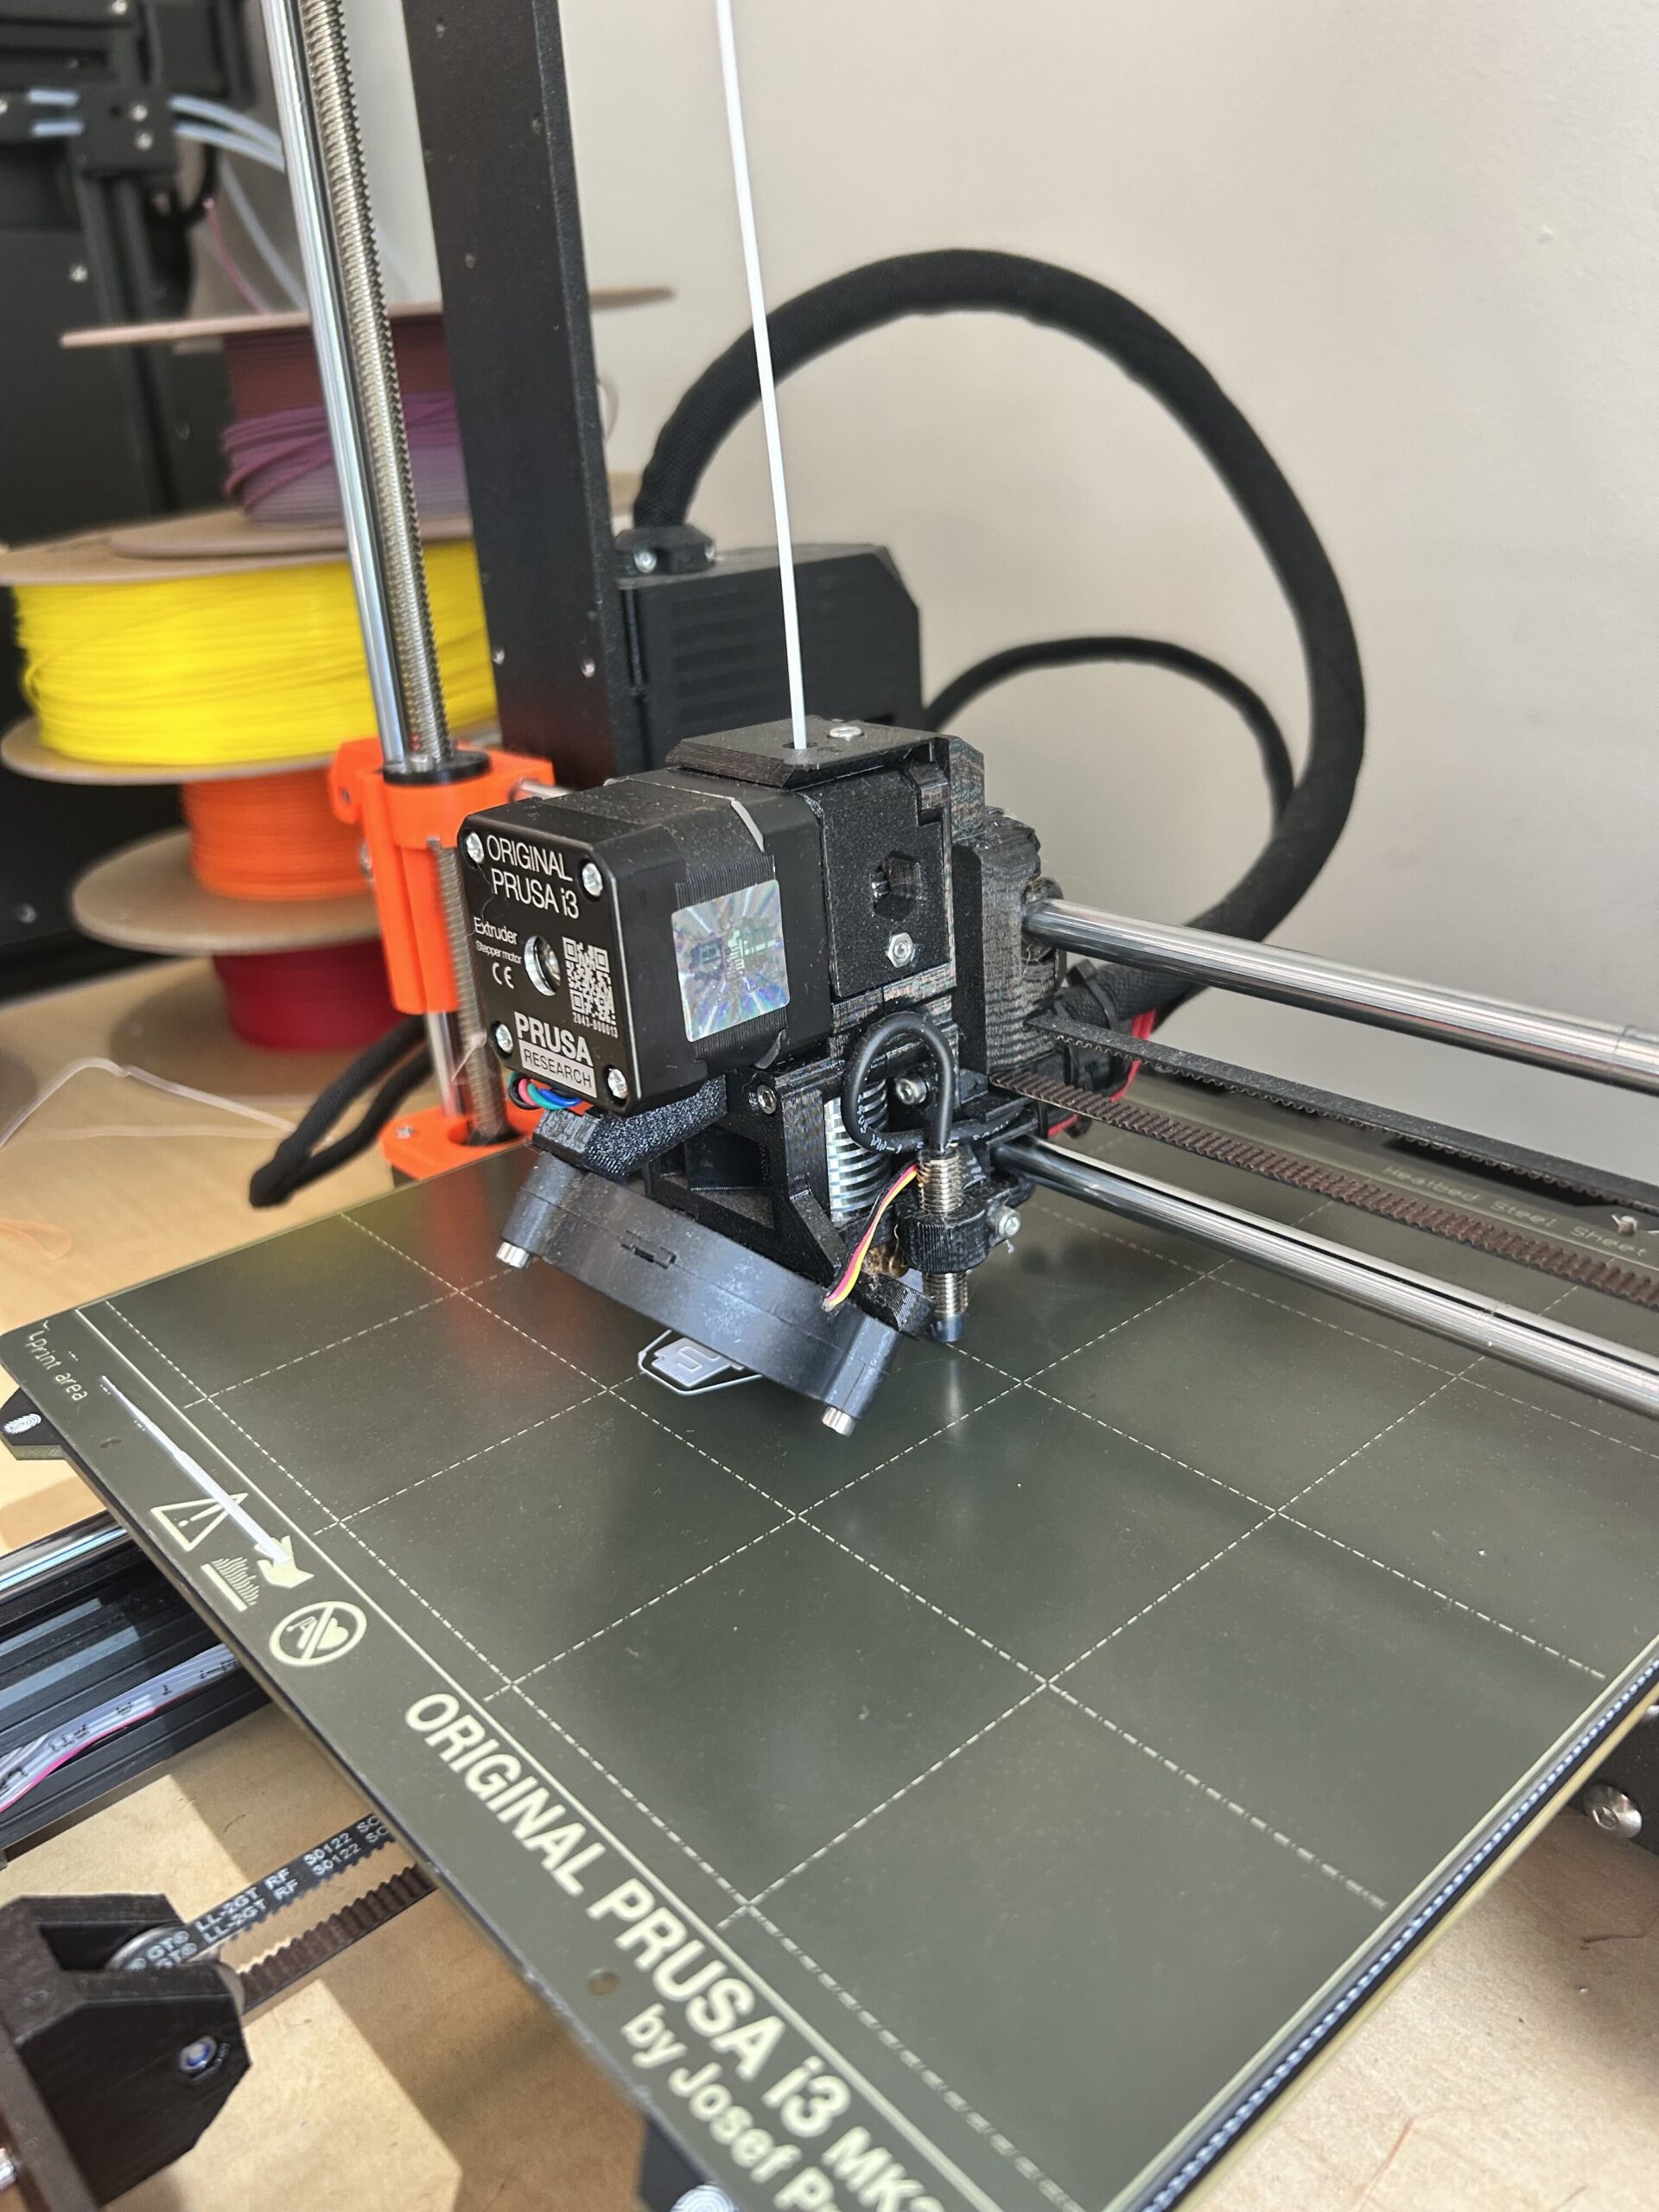
Once you decide what to print, it’s time to set up the files to optimize your success. We were taught the ins and outs of model scaling, positioning, support, infill percentages and more, which are crucial to ensuring a successful print. I had no idea there were so many variables! The biggest parameter to keep in mind is the print time ー they do not allow prints that run outside of library hours or overnight, as the printer requires supervision at all times. Once set up, it’s time to send the design files to the machine and load your filament. All of the PLA filament provided by the lab is free to use! Once everything is loaded and set to run, all you have to do is press go. Simple!
NOTE: melted filament gets VERY hot, so watch your fingers around the equipment!
Step 3: Finishing Touches
After the print finishes, the base plate will pull away and you can shimmy your new creation right off! Remove any supports that were printed to keep the structure, and voila – your masterpiece is done! If the edges are rough and you prefer a smoother finish, a piece of sandpaper taken lightly to the print will help soften it up.
And there you have it! A custom, 3D-printed gift from the heart you can give to your loved ones this holiday season, all made for FREE with the help of the public library!